
How to Prepare for Fence Installation

If you’re planning a fence installation in Seattle or Eastside cities like Bellevue, Redmond, Kirkland, Mercer Island, or Sammamish, a little preparation makes the process smoother. Knowing how to prepare for fence installation helps you avoid delays, protect your property, and ensure your new cedar fence looks perfect from day one.
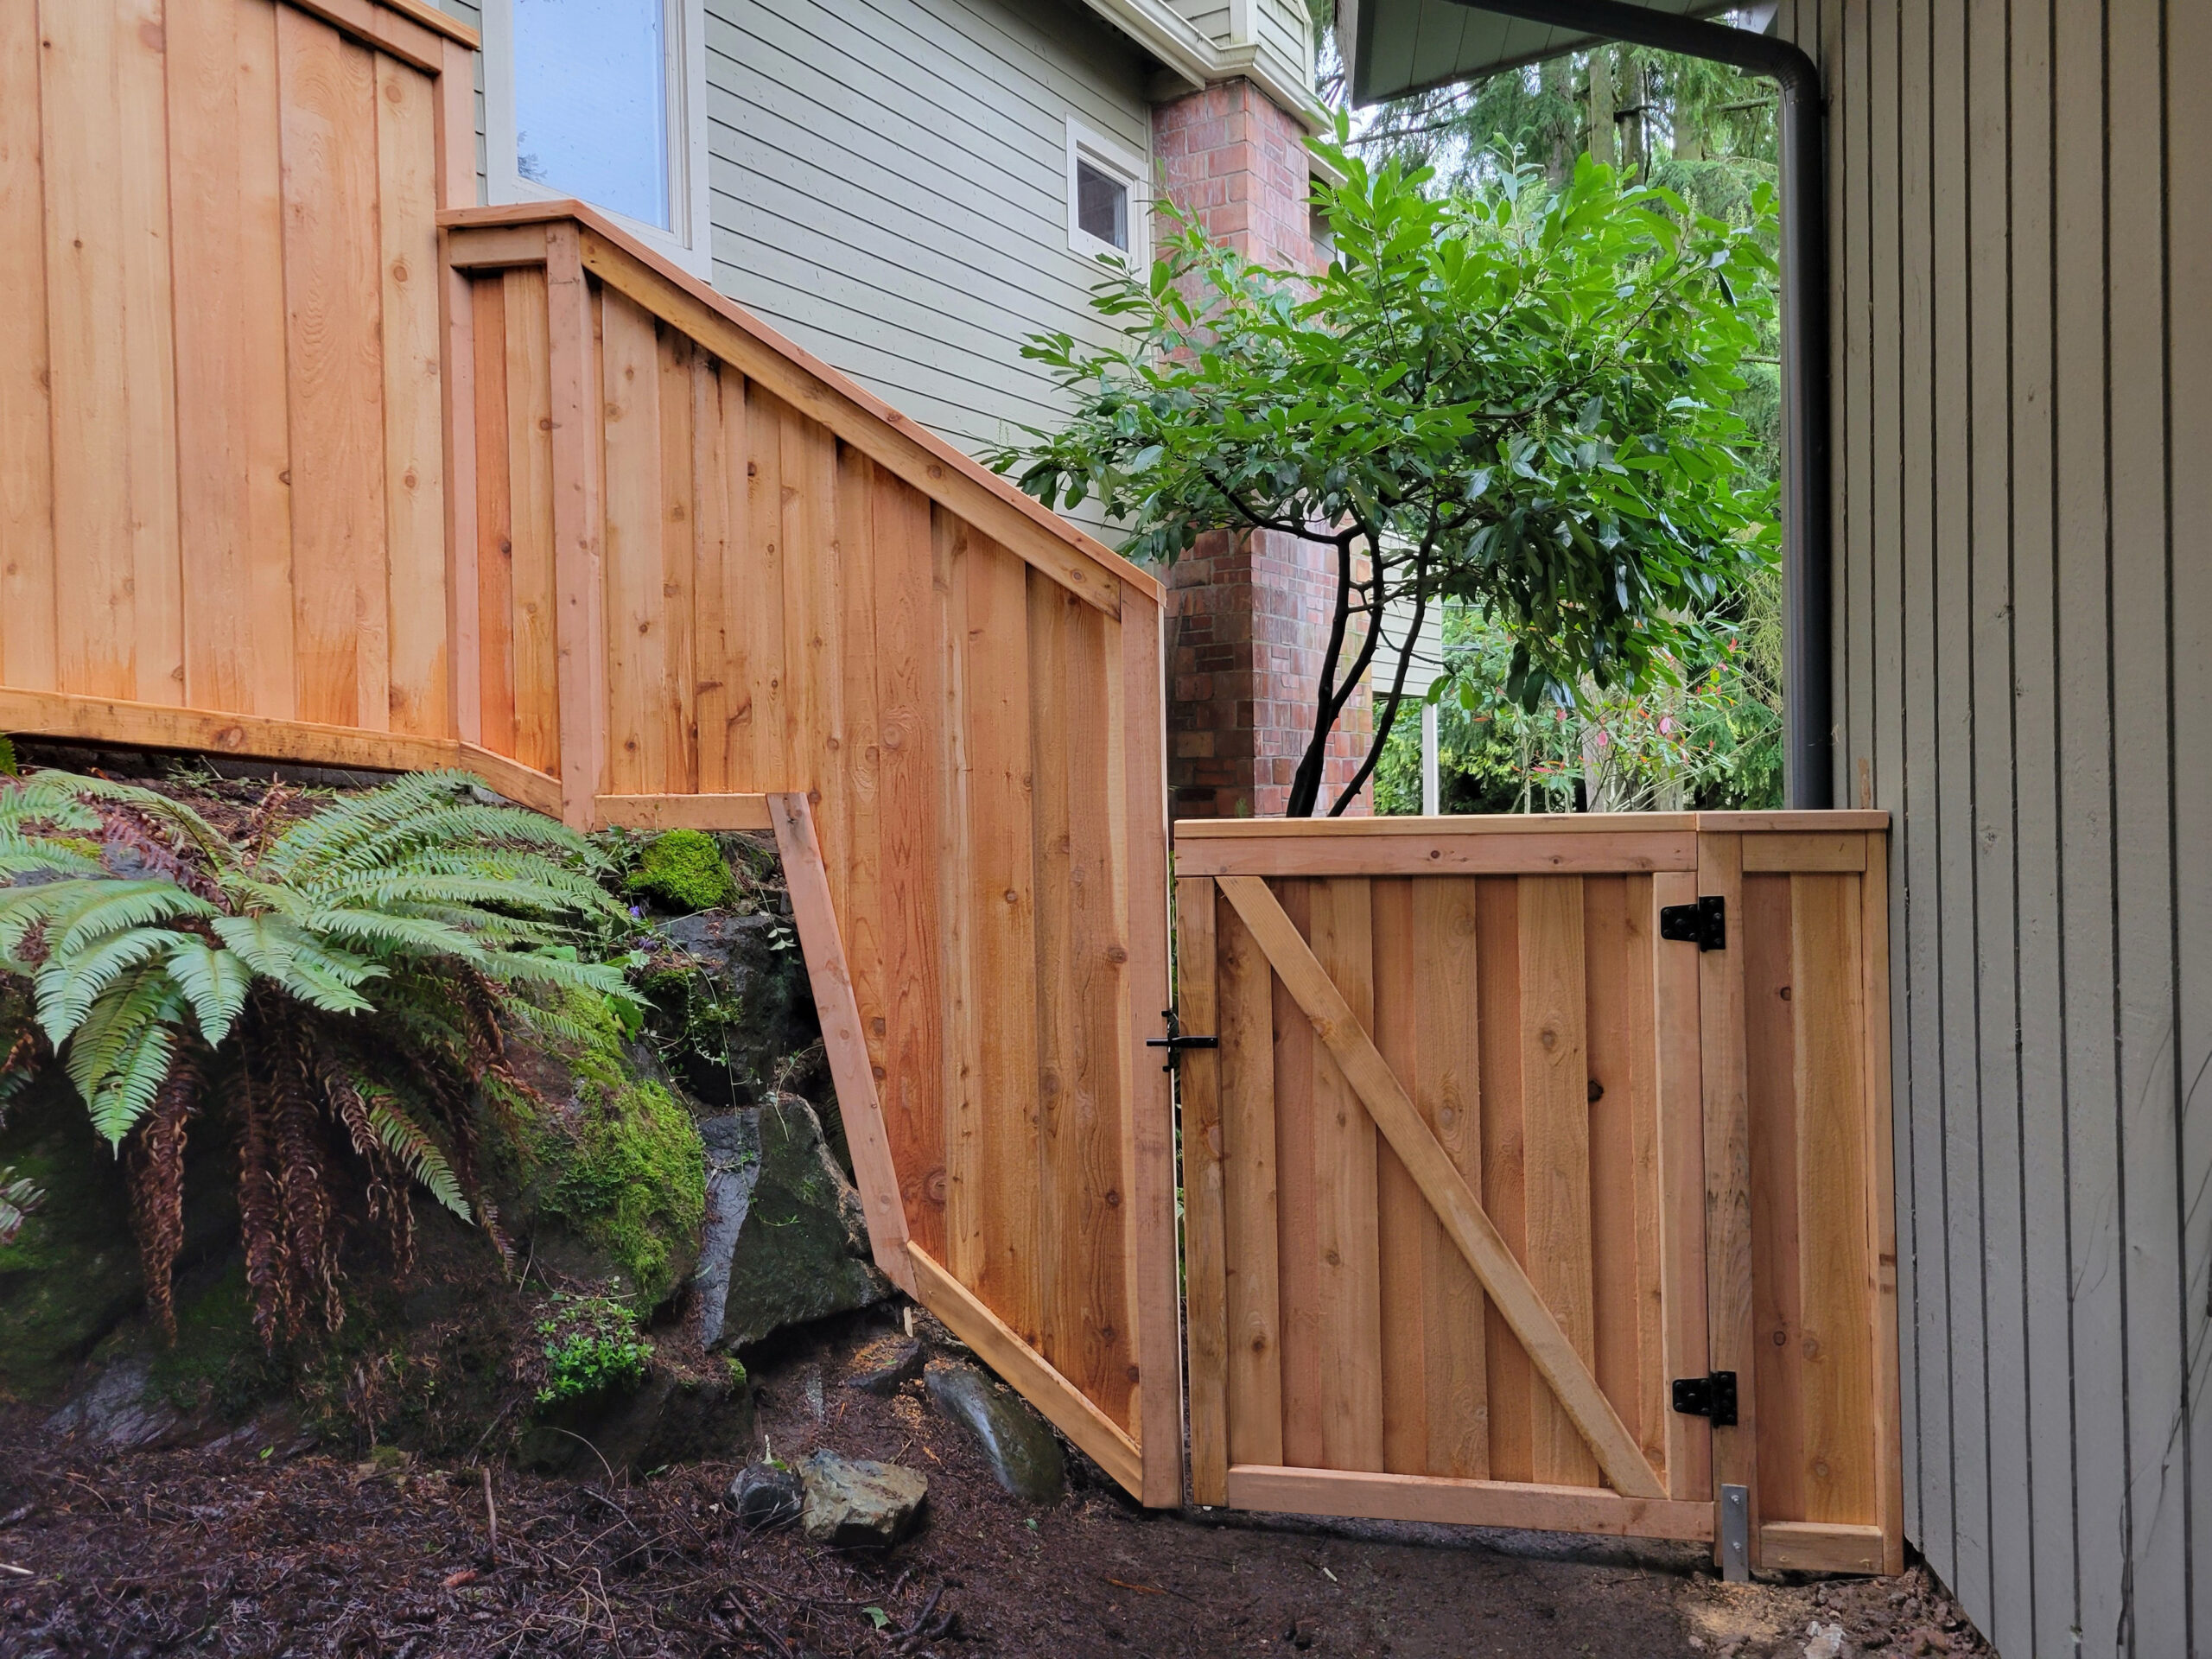
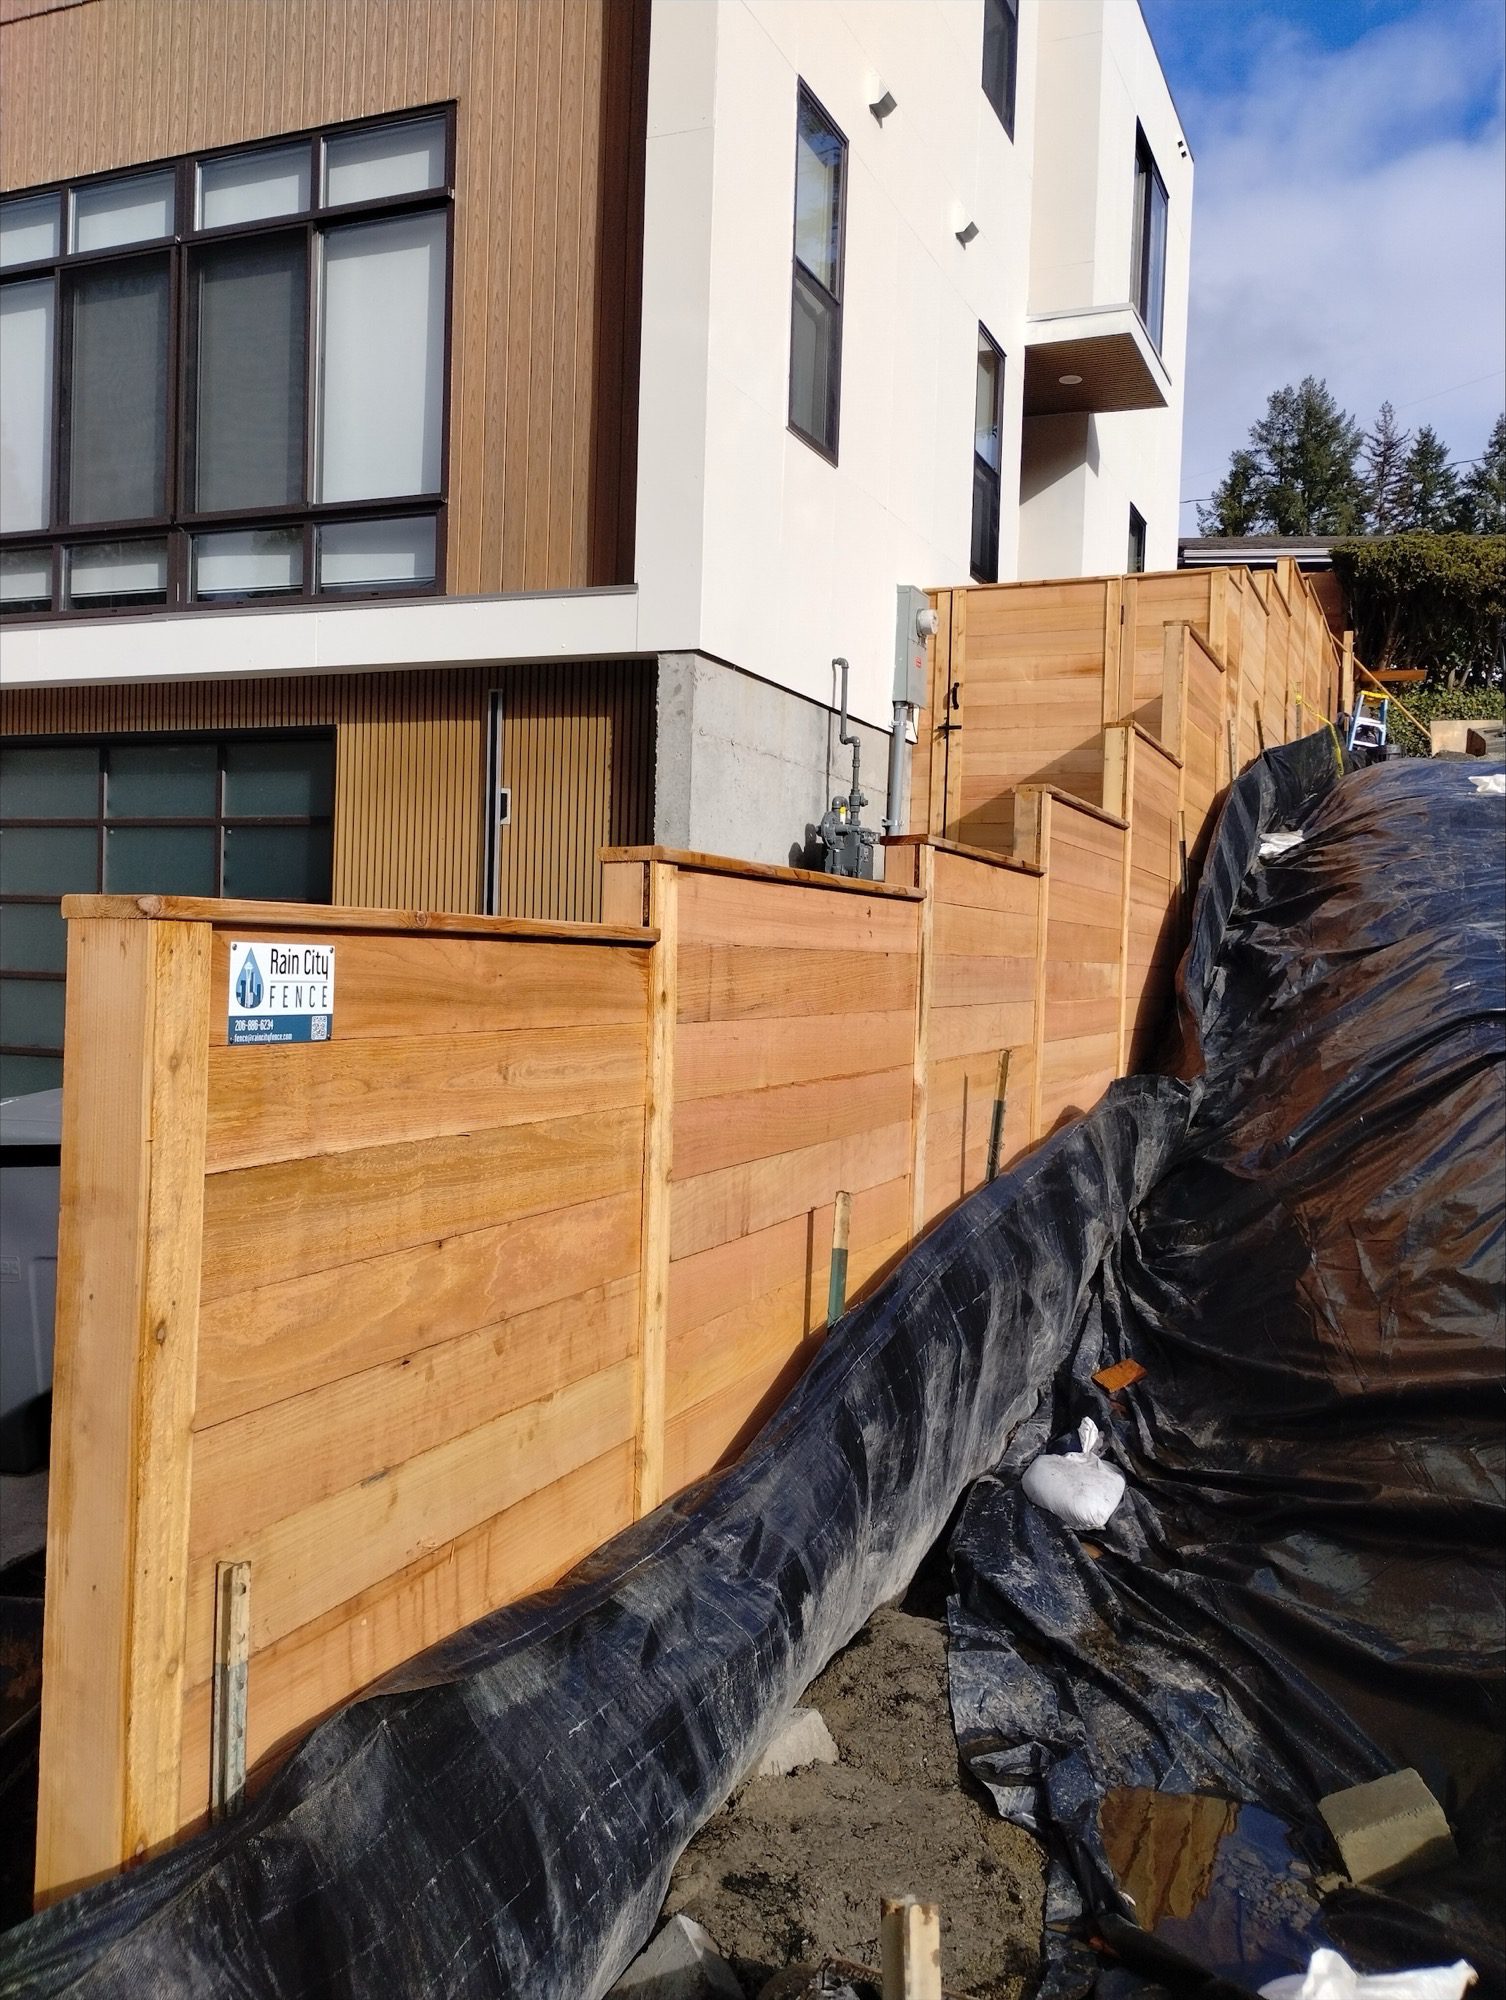
At Rain City Fence, we build cedar fences designed for the Pacific Northwest—durable, beautiful, and made to last. Follow this step-by-step guide to get your yard and project ready.
Step 1: Read Your Contract Before Signing
Review your proposal and contract carefully before signing. These documents explain what’s included—like demo, materials, and your responsibilities.
If anything isn’t clear, ask your estimator. Confirming details early prevents miscommunication later.
Step 2: Read the “Avoid Surprises” Guide and Talk to Neighbors
Before work begins, read Rain City Fence’s “Avoid Surprises – Read This First” checklist.
📄 Download the PDF here.
The guide explains how to prepare your property, what to expect during construction, and how to avoid common issues.
If your fence line is shared, make sure your neighbors know what’s happening. When they aren’t working directly with Rain City Fence, you’re responsible for sharing project details—like start dates, access needs, and design choices.
Give them a copy of the PDF so everyone understands the process.
Clear communication prevents confusion, keeps access open, and ensures both sides of the fence stay happy.
Step 3: Utility Locate Before Fence Installation Begins
Rain City Fence always calls 811 before digging. This free state service sends a technician to mark public utility lines with color-coded paint or flags that show where gas, electric, water, and communication lines run.
811 markings represent a zone, not an exact line. Utilities can vary by up to two feet on either side.
Even with proper marking, underground conditions can still differ. Occasionally, a line may sit within the locate zone.
Our crews hand-dig every post hole for safety and accuracy. However, damage that happens within a correctly marked zone isn’t covered under our warranty or liability, as noted in your contract. The exact depth or direction of buried lines is outside any contractor’s control.
If your property includes private systems like irrigation, lighting, or drain lines, you’ll need to mark or expose those before work starts. 811 doesn’t locate private lines. Rain City Fence isn’t responsible for damage to unmarked systems, sprinklers, or invisible dog fences.
How to Prepare for 811 Dig
-
Unlock gates so utility crews can access the yard.
-
Clear debris, tall grass, or mulch near the fence line so markings stay visible.
-
Avoid mowing or washing the area after they mark it—paint fades quickly.
The temporary flags and paint wash away over time. Keeping the area clear helps the 811 team finish quickly, so your fence installation process stays on schedule.
📄 Learn more at Washington811.com.
Step 4: Clear the Fence Line
Before installation day, clear the entire path where your fence will go. An open workspace keeps your project on schedule and protects your landscaping.
Remove or trim anything that might block access:
-
Plants or shrubs along the old fence line
-
Garden décor, solar lights, or hanging planters
-
Outdoor furniture or storage close to the fence
Mark anything you want to keep—such as plants, trellises, or yard art—with ribbon or tape.
Homeowners usually handle vegetation removal unless noted otherwise in the proposal.
Preparing ahead lets the crew work efficiently and helps ensure your new cedar fence is built cleanly, safely, and exactly where you want it.
Step 5: Prepare Your Yard and Pets
Before construction, clean up any pet waste. It keeps tools, materials, and crew gear clean.
If possible, mow or trim grass along the fence line for better visibility.
Secure pets in a safe area away from the work zone. Gates may stay open at times, and loud tools can startle animals. Let the crew know about pets before installation—especially dogs—so everyone can work safely and respectfully.
These simple steps protect your pets and keep your fence installation process running smoothly.
Step 6: Ensure Access for the Crew
Open driveways, gates, and pathways before installation. If materials need to pass through narrow spaces, move obstacles in advance. Easy access helps the crew stay efficient and prevents damage to landscaping or structures.
Step 7: Day-of Fence Installation
Material delivery happens a few days to two weeks before installation. You may see cedar boards and post-on-pipe neatly stacked on-site. Early delivery keeps your project on schedule.
What to Expect During the Pre-Installation Walk-Through
The crew lead will meet with you before digging begins. Together, you’ll confirm access points, layout, and any last-minute notes—like pets, gate placement, or landscaping concerns.
We ask that you be present for this meeting to review key details:
-
Fence placement and height
-
Gate location and swing direction
-
Slope style (sloped or stepped)
-
Shared or split fence sections with neighbors
This short walk-through ensures every detail matches your approved plan before the first post goes in. The crew lead will review your signed proposal, answer questions, and make adjustments if needed.
After that, the team begins hand-digging posts—the foundation of your new cedar fence.
These few minutes at the start guarantee your installation goes smoothly and delivers exactly what you expected.
Common Mistakes to Avoid
-
Forgetting to mark private irrigation or lighting lines
-
Skipping the contract review before signing
-
Leaving décor, vegetation, or pet waste in the fence line
-
Missing the pre-construction walk-through
Avoiding these mistakes helps your fence installation stay on time and problem-free.
Ready for Fence Installation?
Rain City Fence builds high-quality cedar fences for Seattle and Eastside homeowners—combining craftsmanship, durability, and honest communication.
Whether you’re in Seattle, Bellevue, or Redmond, knowing how to prepare for fence installation ensures your fence looks great and lasts for decades.
💬 Contact us today for a free estimate!
📞 (206) 886-6234 🌐 raincityfence.com/contact
continue reading
Related Posts
If you’re researching cedar fence cost Bellevue homeowners typically pay, […]
If you’re planning cedar fences Bellevue homeowners rely on for […]

