
How to build a stepped and sloped fence

People have always had a thing with fences. Be they Romans, Greeks, or the Egyptians, perhaps even prior, throughout history humans have constructed fences for any number of reasons: privacy, protection, containment, defining property boundaries. Irritating neighbors, who knows.
This “fence” concept necessitated even dividing territory over uneven and dangerous terrain, inevitably leading to the evolution of various building tools, techniques, and materials for erecting those fences on slopes and hills.
Fortunately here in Seattle and Western Washington, nature provided for us the durability, versatility, and natural and immense beauty of Western red cedar wood that makes such a topographical challenge more than feasible. Dare we say routine?
You may be able to take a sled down steep Queen Anne Hill with the best of them, but do you know how to build a sloped fence on a hill? If so, we admire you tackling such a challenge.
How to build a sloped fence on a hill
Understanding how to build a fence on a slope, however, begins with a solid plan. There are two kinds of fences that are optimal for a contoured slope or a small hill: a sloped fence and a stepped fence. The difference between the two is more about the aesthetic look or style of the fence than anything else.
That said, learning how to build a fence on a curve requires a bit of a learning curve in itself. If it gets to be too much, don’t beat yourself up about it. Hire a fence team to take care of it.
Measuring for a sloped fence
Always begin your project by marking out the area plan for your fence line. Confirm the proposed fence line remains on your side of the property line, if applicable, and do yourself a favor and give 811 a call just to make sure you miss any public utility lines.
Measuring for each fence post
- Drive two wooden stakes at opposite ends of the proposed fence, one at the bottom of the slop and one at the top. Tie a mason line to both stakes at equal height to attach them.
- Measure and designate with tape or similar marker the equal distances between each post. These measurements often fall within the range of 5-8 feet.
- Using a plumb bob, drop a string or similar line from the tape marks to the ground, and then mark the specific location of each post.
Digging the holes for the sloped fence
These posts will be the vertical anchoring beams that will secure your fence to the ground. Notice: All vertical parts of your fence will stand upright, NOT in the direction of the slope. They will not stand in the direction of the hill.
- Measure a hole to a size that is three times the diameter of your post.
- Using a post hole digger, work slowly to dig out the dirt until you reach the correct width and depth. Repeat for all the post locations you have designated along the string.
- Drop the post into the hole. To ensure it is plumb and upright, use any standard level to measure accuracy. (As Rain City Fence is a “post-on-pipe” company, our technology protects the cedar wood from decaying in the ground or concrete for years or decades)
- Throw in three inches of dirt or gravel to the base of the hole to promote groundwater drainage.
- For wooden fences (or post-on-pipe metal posts), mix and pour concrete to just below the base of the hole. Allow the concrete to set, but brace the post to level to sit properly.

Attach rails to sloped fence
Once the posts are in place and stabilized, measure from the ground up to lay out the bottom rails. When constructing a sloped fence on a hill, the bottom rail should measure three or four inches off the ground.
- Connect the top of two fence posts with a mason line. This angle will inform the slope you will need to match the rail with the necessary-sized screws. In most cases, the rail is located eight inches off the ground and eight inches from the top of the posts.
- Corresponding with the slope angle of the mason line you made, fasten both rails to the posts with two masonry screws of appropriate size. If you are connecting the end of two rails against a post, leave half of the post for each rail to butt up against one another.
- Most of the time, posts face the home rather than away.
Fasten the pickets or panels
In this slope fence design, the height of your pickets will follow the contour of your yard, but will maintain the even slope between the posts. This step is what you created your mason line for.
- From the ground, measure up at least two inches and mark where the first rail will be. The two-inch space allows for water to flow under the fence.
- Hold up the first picket solidly against the post, and make sure it’s plumb. Measure the distance between the mason line and the top of the picket. (you can also use the top of the top rail)
- Fasten the initial picket to the rail with brad nails and a pneumatic brad nail gun. As you graduate down the hill, the top of each picket should always measure the same distance from the mason line or the top of the rail. This ensures you maintain the same even slope created by the rail.
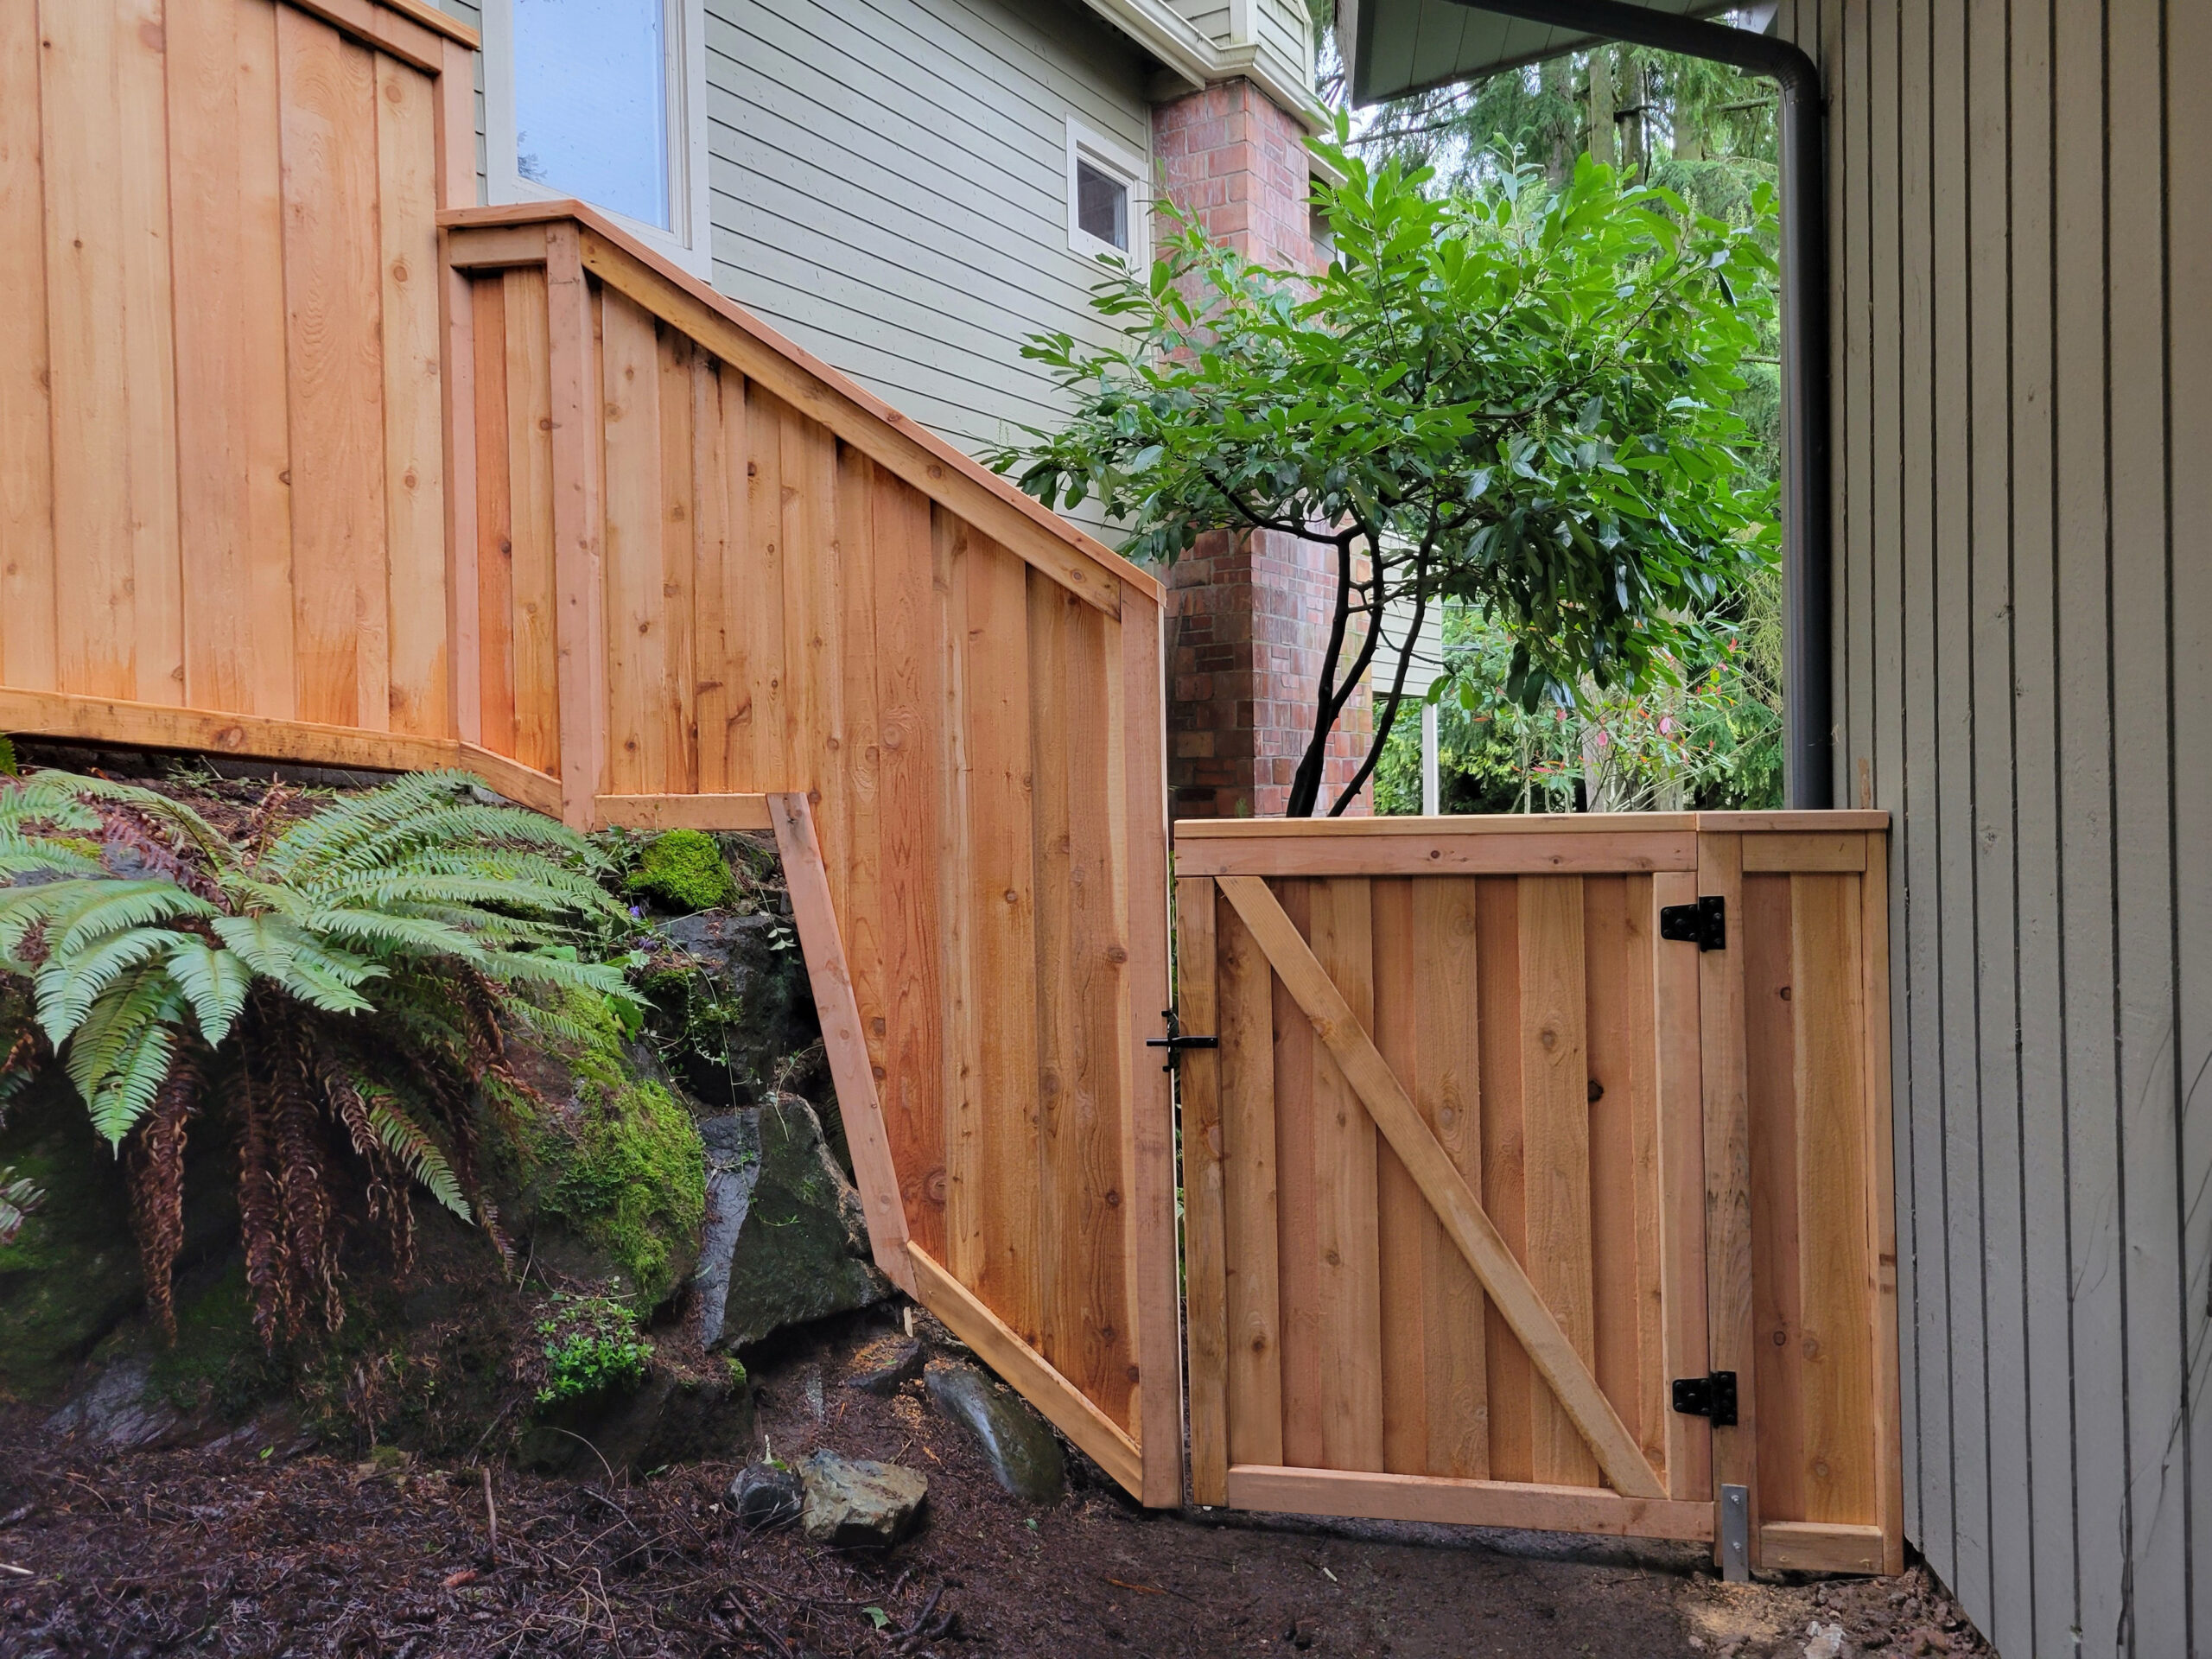
How to build a stepped fence on a hill
Seen from the side, it’s not a surprise this fence design has its name. A stepped fence goes down a hill forming a sequence of “steps.” This design is especially useful, and more simple, on steeper grades. And remember that the look of the finished result will be different when installing a stepped fence, seeing as the space between the fence and the ground will be uneven.
It’s recommended that you obtain preconstructed pickets. Such pickets will make building the fence easier without having to check for plumb each and every time.
Measuring for each fence line
Start by drawing out your fence with the measurements you prefer so you can achieve the shape or design you want. The rails on a stepped fence will remain strictly vertical, and the pickets will stay in alignment with one another. Each section of rails and pickets will move down together, in steps.
- As you measure down the grade for your stepped fence, stick in the ground two tall stakes at the top and bottom of the fence. String a mason line at the top of the two stakes and level it.
- Measure the space between the string and the ground to confirm the slope’s drop on that part of the hill.
Mark and install the stepped fence posts
Similar to the instructions for the slope fences, make sure the posts are level and secured in the ground with properly-drained concrete footings (preferably employing the post-on-pipe technique to extend the life of your wood fence!). Let the concrete set and, if necessary, check frequently to make sure it’s level.
After you choose the number of fence sections and posts, you then divide the total drop of your fence by the number of sections. For instance, if the total drop of the stepped fence is 20 inches, and you have five sections of fence, the drop per section is four inches.
- Per the steps listed prior, dig the holes and install the posts in the spots along the mason line you marked earlier. Each post should be slightly taller than the completed height of the fence.
- Measure to find where the top of the upper post will be.
- Draw a mark where you will cut the post.
Level posts and cut the tops
- For every section, measure down the drop, which you measured in the prior step. At this point, tie a line at that spot.
- Tie the other end of the string to the next post and level the line. Where it crosses the second post will then be the top of that post.
- Mark the top of the post, then move down the line down by the drop with every section, then to the third post and level it. Mark it as before.
- Just make your way down the slope or hill, penciling the top, measuring the drop, and then stretching an equal, level line until the end of the fence.
- Cut off the tops of the posts where you marked them.
Measure for the rails
In order for your stepped fence to be aesthetically pleasing, the posts should be following the slope of the ground even though the pickets will stand level.
- Use the mason line and tie it to the first post, per your drop measurement.
- String the line to the next post while making sure the line is level. Mark the spot where the line connects to that post. That line you just made is the top of the second post. Cut off the top of the second post at that mark.
- Repeat that process with the second and third posts, and so on down the fence.
Attach the rails and pickets
Fastening the rails and pickets should be pretty standard at this point.
- Tie a mason line to mark the spacing between the two posts for the top rail. For most instances, this measurement is typically seven or eight inches from the top, but much of it depends on the design.
- Stabilize the level rail between the two posts with the appropriately-sized masonry screws.
- Fix your pickets between the two posts with brad nails. Again, they will be positioned side-by-side, so the tops and bottoms will line up precisely.
continue reading
Related Posts
If you’re researching cedar fence cost Bellevue homeowners typically pay, […]

If you’re planning cedar fences Bellevue homeowners rely on for […]

